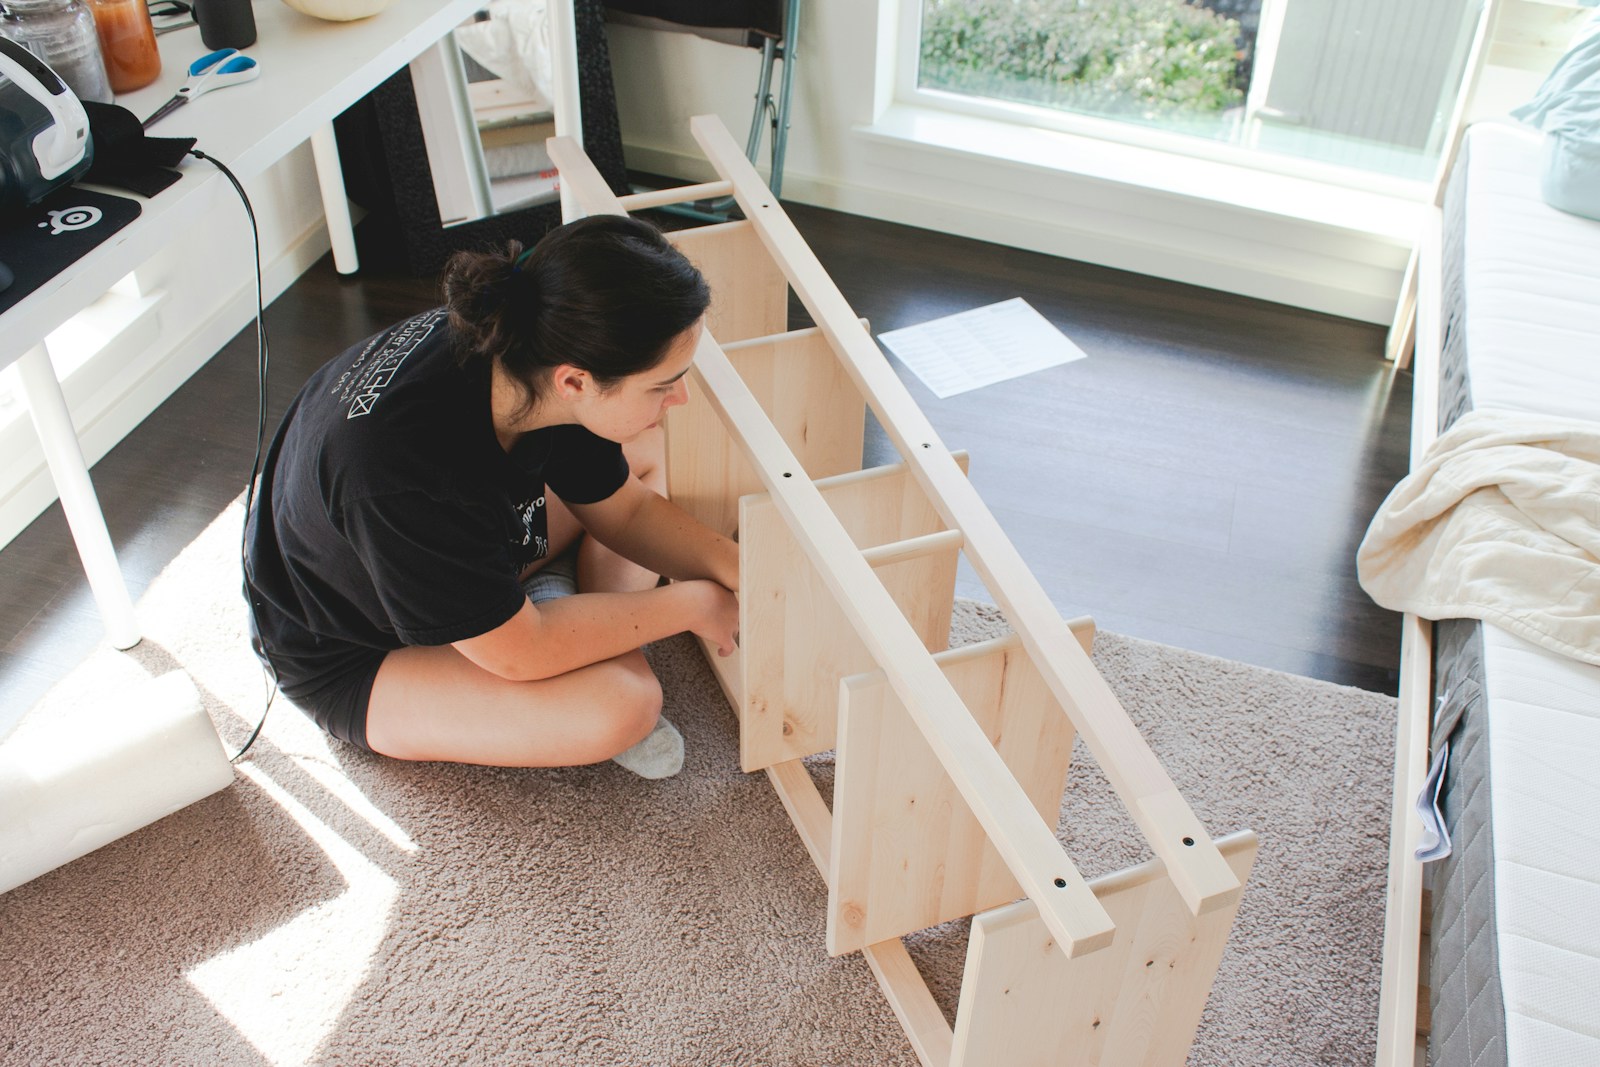
IKEA furniture is popular for a reason: it is affordable, stylish, functional, and designed to be assembled at home. But anyone who has opened a large flat-pack IKEA box knows that putting everything together can sometimes be more challenging than expected.
With the right preparation, tools, and approach, IKEA furniture assembly can be much easier. Whether you're assembling a bookshelf, dresser, bed frame, desk, or entertainment center, these practical tips can help you complete the project more efficiently and avoid common mistakes.
1. Prepare Before You Start
One of the biggest mistakes people make is starting the assembly immediately after opening the box.
Take a few minutes to prepare your workspace first. Make sure you have enough room to lay out the furniture components and move around comfortably.
A clean, open workspace makes it easier to identify parts and reduces the chance of losing small hardware.
Before beginning, consider having:
- A clean and level workspace
- Adequate lighting
- A screwdriver
- Appropriate screwdriver bits
- A rubber mallet
- Pliers
- A small container for screws and hardware
- A measuring tape
- Wall-anchoring hardware when required
2. Unpack and Organize Every Part
Once you open the package, resist the temptation to immediately start assembling.
Instead, carefully remove the components and organize them.
Separate the pieces by:
- Size
- Shape
- Type
- Hardware
- Similar-looking components
IKEA furniture can contain several pieces that look almost identical. Mixing them up early in the process can create problems later.
For larger projects, consider using sticky notes or masking tape to temporarily label components. This can make it much easier to identify the correct piece when following the instructions.
3. Read the Instructions Before Starting
IKEA assembly instructions are designed to be followed in a specific sequence.
Take a few minutes to review the instructions before putting anything together. Pay particular attention to the diagrams and the orientation of each component.
Don't assume that two similar-looking parts are interchangeable.
A common mistake is skipping a step because it appears unnecessary. Unfortunately, that can result in misaligned components or make later steps much more difficult.
Following the instructions in order is usually faster than trying to figure out how to fix an incorrectly assembled section later.
4. Use Better Tools When Appropriate
The basic tools included with IKEA furniture can get the job done, but having your own tools can make the process considerably easier.
A good screwdriver with the correct bits can make repetitive assembly much faster.
A rubber mallet can also be useful when components need gentle assistance to fit together.
However, avoid using excessive force. IKEA furniture often uses engineered wood and other materials that can be damaged if components are forced together.
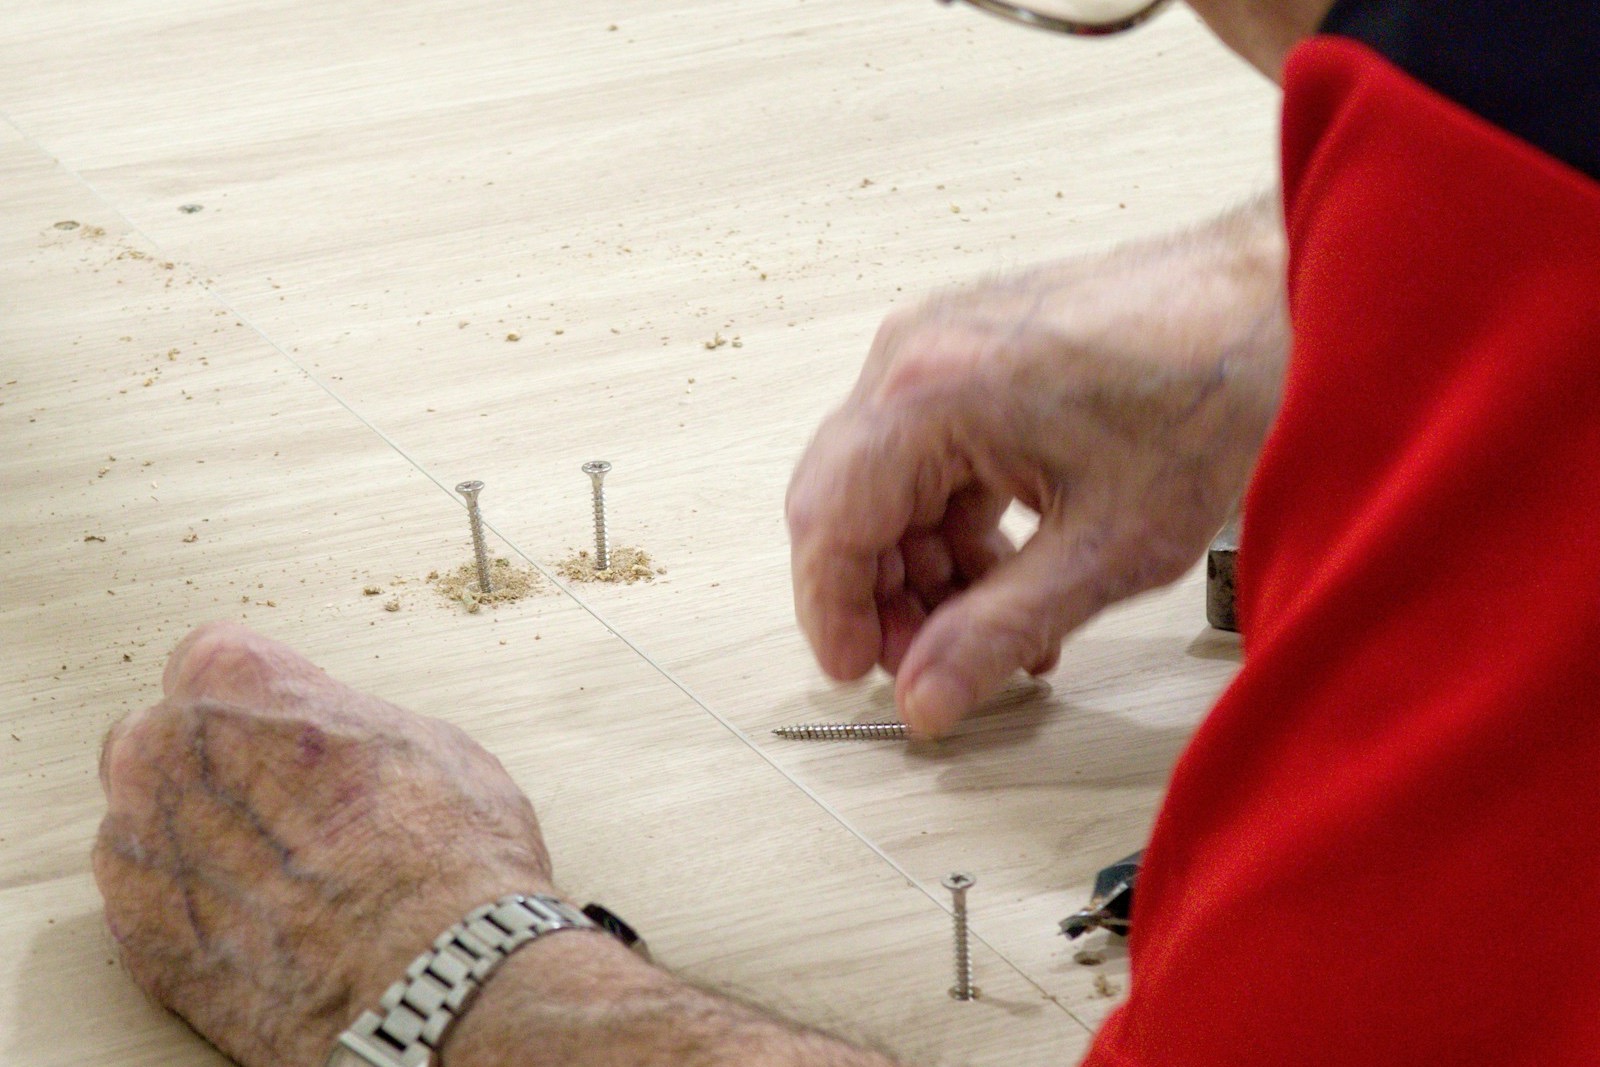
5. Don't Overtighten Screws
One of the most common furniture assembly mistakes is overtightening screws.
It may seem logical that tighter means stronger, but excessive force can damage the material, strip threads, or crack components.
Tighten screws firmly, but don't force them once they are properly seated.
If you're using a power tool, use an appropriate low torque setting and finish tightening carefully by hand when necessary.
6. Check Alignment Before Tightening Everything
If two components don't appear to line up correctly, don't immediately force them together.
Check that:
- You're using the correct component.
- The component is facing the correct direction.
- The hardware is installed correctly.
- Previous screws aren't already too tight.
- The furniture is sitting on a level surface.
Sometimes loosening a few screws slightly allows the components to align properly before everything is tightened.
7. Use a Rubber Mallet Carefully
Some furniture components may require a gentle tap to fit into position.
A rubber mallet can help with this because it provides force without the same risk of damage associated with a metal hammer.
Use only light pressure.
If a component requires significant force to fit, stop and check the instructions and alignment. Forcing parts together can damage the furniture.
8. Make Final Adjustments After Assembly
Even when you follow the instructions carefully, you may notice small gaps or slight misalignments after the furniture is assembled.
Before assuming something is wrong, inspect the entire piece.
Small adjustments to screws and connections can sometimes correct minor alignment problems.
The important thing is to make adjustments gradually rather than applying excessive force.
9. Consider Additional Stability
For certain furniture projects, additional reinforcement may be appropriate.
Depending on the design and manufacturer's instructions, wood glue may be useful for certain joints. However, glue should not be used indiscriminately.
Before modifying the furniture, understand how the joint is designed to work and follow the manufacturer's recommendations.
If you're considering an IKEA hack or modification, remember that changing the original design can affect the furniture's strength and stability.
10. Don't Forget Furniture Safety
Safety is one of the most important parts of furniture assembly.
Tall or freestanding furniture such as bookcases, cabinets, and entertainment centers can create a serious tipping hazard if they are not properly secured.
Use the appropriate wall-anchoring hardware and follow the manufacturer's safety instructions.
This is particularly important in homes with children or pets.
11. Be Careful When Moving Heavy Furniture
Some IKEA furniture can be surprisingly heavy, especially large dressers, wardrobes, desks, and bed frames.
Don't try to lift large or heavy furniture by yourself if you are not confident you can do so safely.
Use proper lifting techniques and ask another person for assistance when necessary.
Moving a partially assembled piece can also put stress on joints and connections, so plan where the furniture will go before beginning a large assembly project.
DIY IKEA Assembly vs. Hiring a Handyman
For a small and relatively simple IKEA project, DIY assembly may be perfectly reasonable.
However, hiring a professional handyman can make sense when:
- The furniture is large or complicated.
- You don't have the necessary tools.
- You don't have enough time.
- The furniture needs to be moved into position.
- Multiple pieces need to be assembled.
- Wall anchoring is required.
- You simply don't enjoy furniture assembly.
A professional can also help reduce the risk of damaging components during assembly.
Final IKEA Furniture Assembly Checklist
Before calling the project finished, check:
- ☐ All components are installed.
- ☐ All screws and hardware are properly tightened.
- ☐ Doors and drawers open correctly.
- ☐ Shelves are properly positioned.
- ☐ The furniture is level.
- ☐ There are no loose components.
- ☐ Tall furniture is properly anchored when required.
- ☐ The furniture is stable before use.
Need Help With Furniture Assembly?
Not every furniture project needs to become a weekend-long DIY project.
If you have a complicated IKEA assembly project, a large piece of furniture, or simply don't have the time to do it yourself, hiring a local handyman can save time and frustration.
Through Contractors2Hire, homeowners can discover local contractors and handymen who can help with furniture assembly and other home improvement projects.
Find a local handyman and get your furniture assembly project started today.